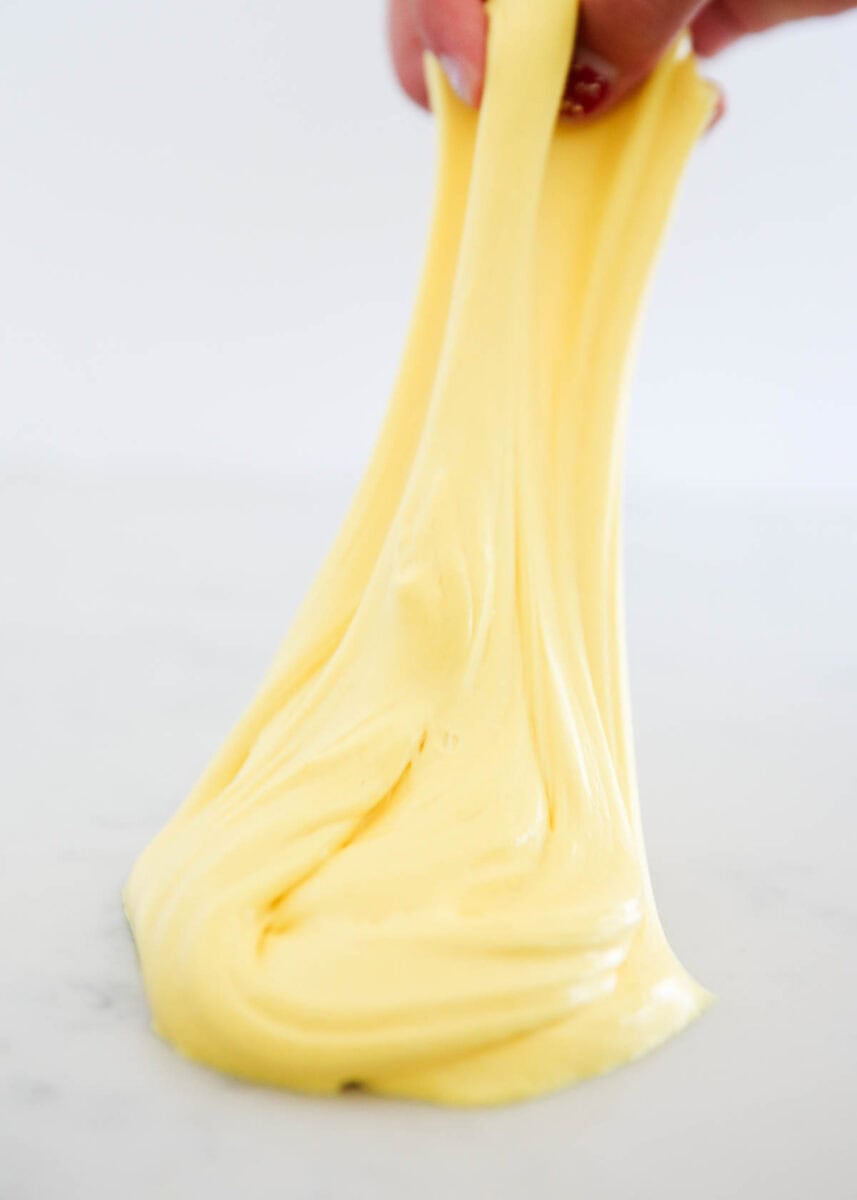
This butter slime recipe is soft, stretchy and easy to make using any type of clay! It’s so much fun for all ages play and best of all it’s smooth like butter which prevents stickiness.
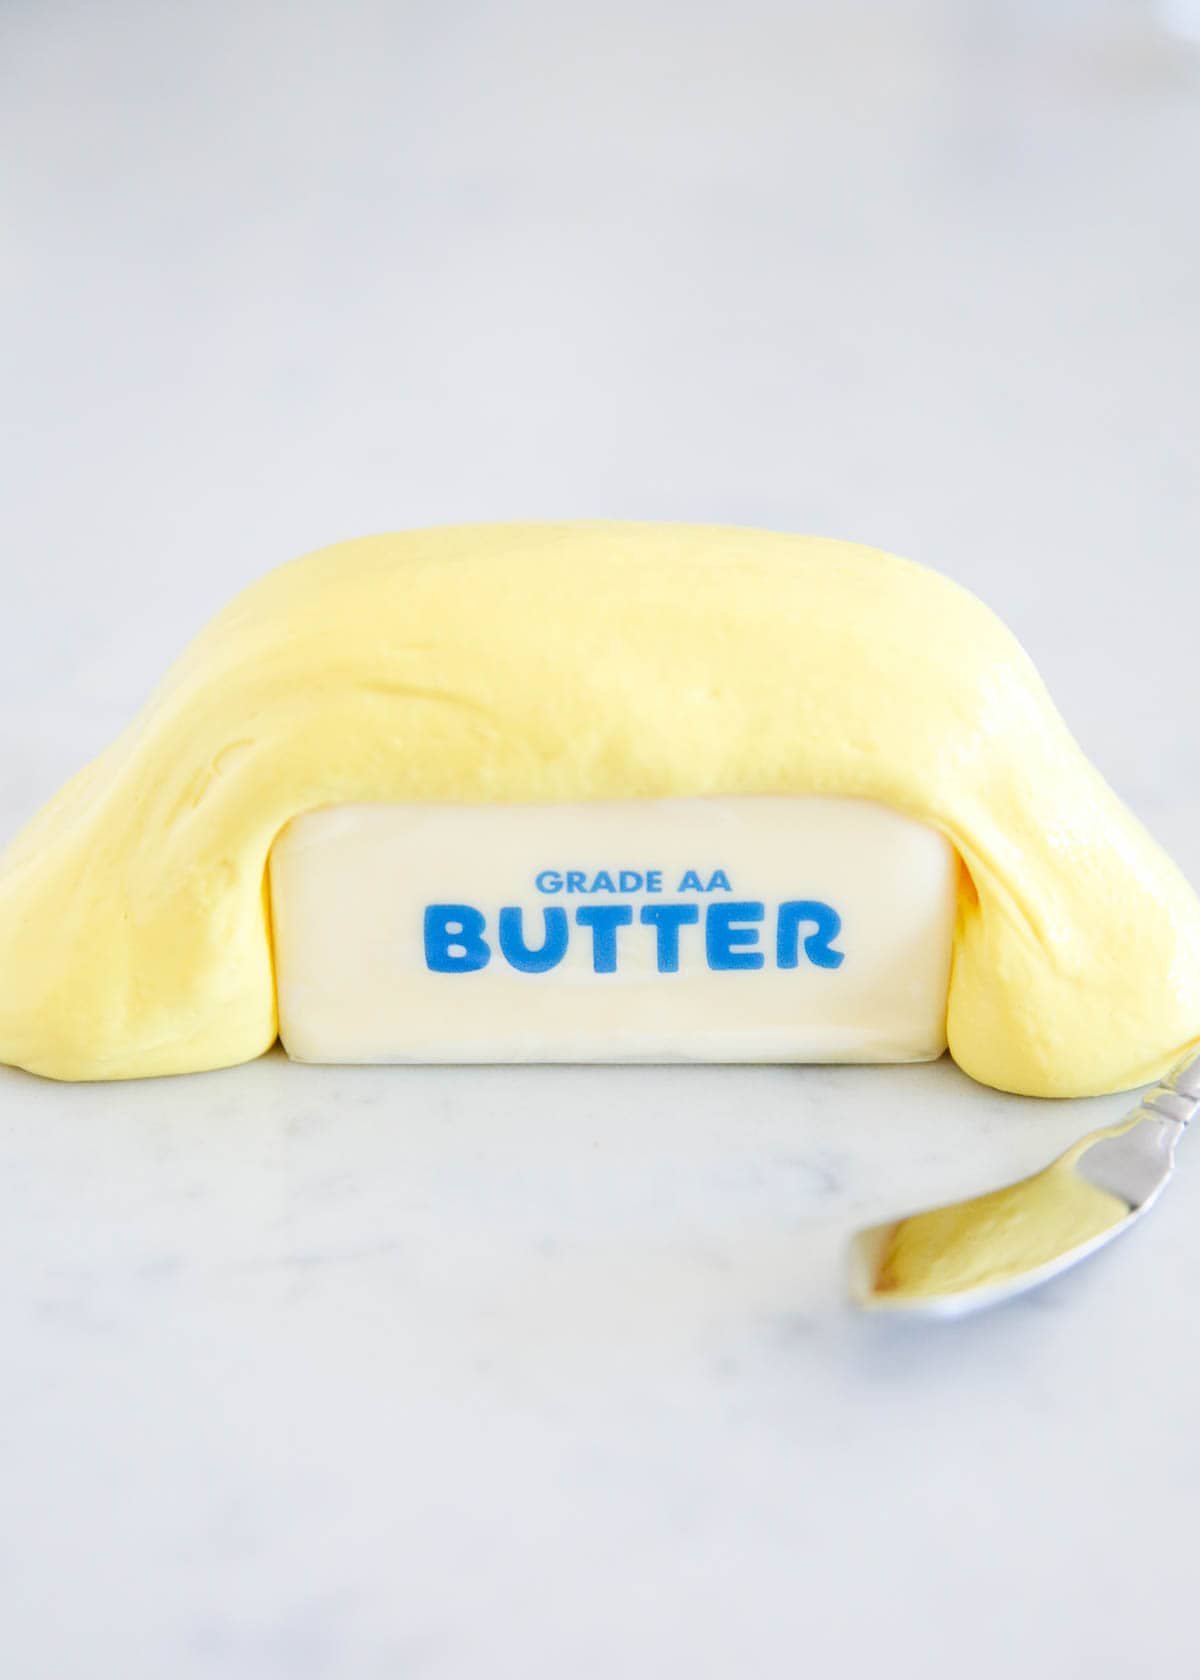
Best Butter Slime Recipe
Butter slime is just like my other fun slime recipes, homemade slime and fluffy slime. It’s a fun craft that you will love making and playing with all afternoon!
It’s a foolproof beginner slime, easy to make and doesn’t stick to everything!
Plus, it’s cost effective to make at home and takes only 10 minutes to put together. It’s stretchy like homemade playdough but more squishy and fluffy! This buttery-like slime is sure to be a huge hit with everyone.
Butter Slime Ingredients
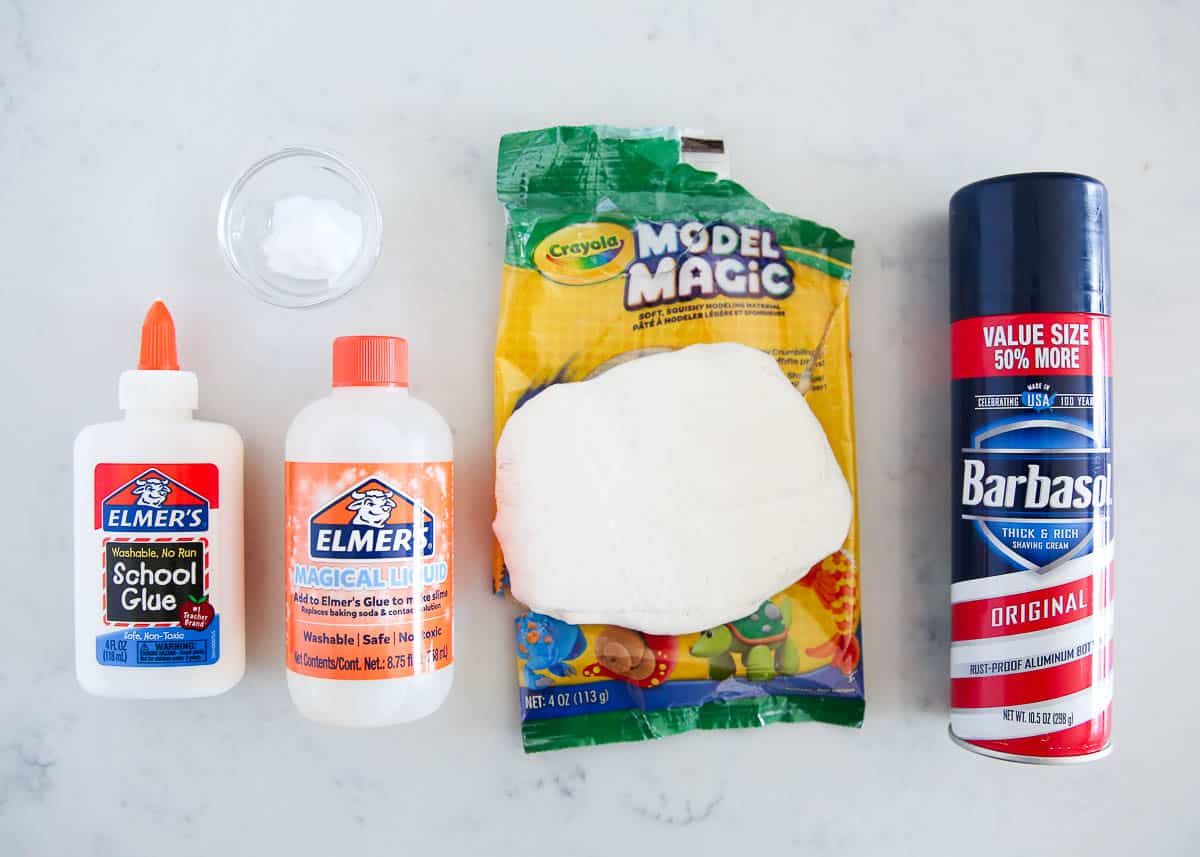

There is actually no butter in the slime, but it’s smooth like butter (how it got it’s name).
Find the full printable instructions with specific measurements below.
- White School Glue: I prefer Elmer’s white glue as cheaper store-brands or off brands don’t always work properly.
- Shaving Foam Cream: I used Barbasol but any brand will work.
- Water: 1/4 cup water.
- Baking Soda: This helps the slime to be firm yet still have a buttery texture.
- Slime Activator: Elmer’s Magical Liquid slime activator works great and I prefer it over making activator with borax.
- Model Magic Clay: I used Crayola Model Magic clay in yellow but use what you like for different colors.
How to Make Butter Slime
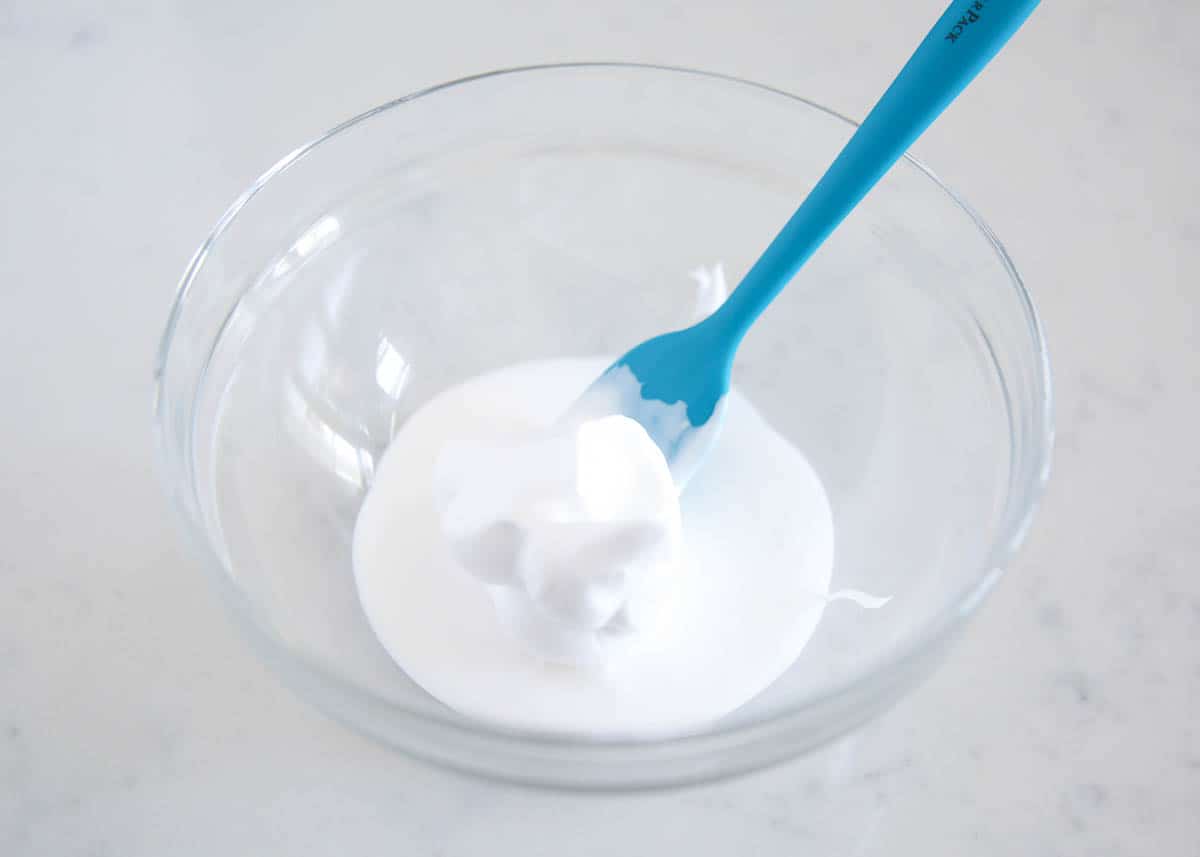

- Mix together glue, shaving cream, baking soda, and water in a large bowl. Stir until the slime mixture is well combined.
- Add in a Tablespoon of slime activator to the slime base and stir until mixed. Add more as needed slowly. Mix until combined and it pulls away and is firm.
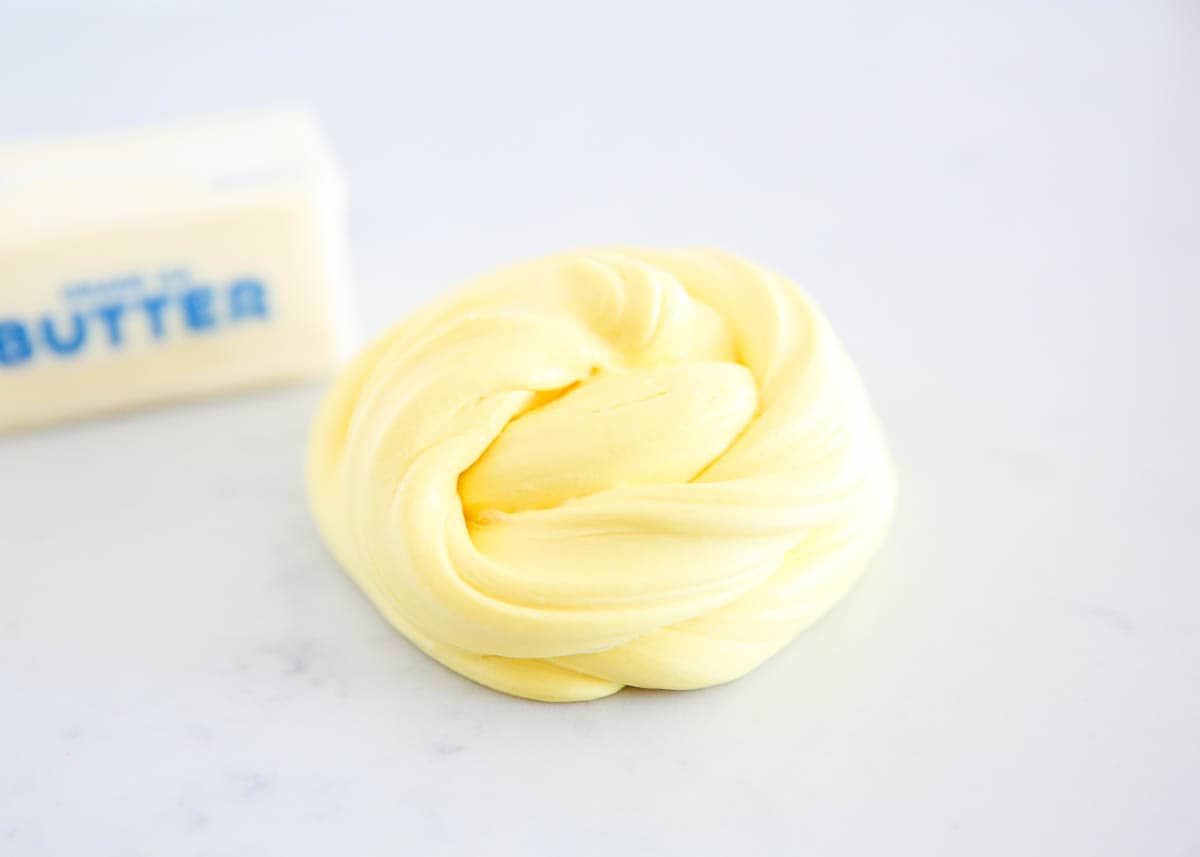
- Press your easy butter slime recipe down onto the counter once it is a good consistency. Then press in the clay. Then fold together and stretch until combined. It will take a couple of minutes to knead together.

Tips for the Smoothies, Stretchiest Slime
- What kind of clay is best for butter slime: I love to use Model Magic clay, as the Model magic slime turns out fluffy and thick with a nice resistance. Any modelling clay should work, although, I have not tested it.
- Scents and flavors: Using scented modelling clay or adding some flavor extract can be a lot of fun for kids who like kitchen play! I used yellow clay for butter, but brown could make peanut butter slime, white for mashed potatoes, blue for water and so on.
- Lumpy slime. If your slime is lumpy, just keep mixing with your hands until it’s smooth. If it’s still lumpy, you will need to start again as that is a indication that your ingredients weren’t combined fully before adding the activator.
- The slime hardened too much. If you add too much slime activator, your butter slime will be too hard and you will need to start again. Next time, only add a small amount of activator at a time.
- Slime is too sticky. Add a tiny amount of activator and mix well until the slime is smooth. Making slime can take awhile to combine, so keep kneading!
Storing Butter Slime
Store the butter slime recipe in an airtight container or bag at room temperature for up to a week. If you store it in a Ziploc, try pressing all the air out for best storage.
Since this slime has clay and a thick texture it hardens more quickly than other slimes.

HUNGRY FOR MORE? Subscribe to my newsletter and follow on Facebook, Pinterest and Instagram for all the newest recipes!

Butter Slime Recipe
↑ Click stars to rate now!
This butter slime recipe is soft, stretchy and easy to make using any type of clay! It’s so much fun for all ages play and best of all it’s smooth like butter which prevents stickiness.
In a large bowl combine together the glue, shaving cream, baking soda and water. Stir until well combined.
Add in a Tablespoon of slime activator and stir until mixed. Add more as needed slowly. Mix until combined and it pulls away and is firm.
Once your slime is a good consistency press it down onto the counter. Then press in the clay. Then fold together and stretch until combined. It will take a couple minutes to knead together.
Storage: Store in a zip top bag so it doesn’t dry out.
Did you make this recipe? Don’t forget to give it a star rating below!


